Chocolate Raspberry Mousse Cake
If you’re craving something that masterfully blends rich chocolate and vibrant raspberry flavors into an unforgettable dessert experience, look no further than the Chocolate Raspberry Mousse Cake. This decadent treat offers a perfect harmony of creamy mousse layers, a tender cake base, and the bright tang of fresh raspberries. Whether you’re celebrating a special occasion or simply indulging your sweet tooth, this cake delivers a luxurious texture and flavor combination that’s both elegant and irresistible.
Why You’ll Love This Recipe
- Delight in perfect balance: The natural tartness of raspberries pairs beautifully with smooth chocolate mousse, creating a dessert that’s neither too sweet nor too rich.
- Light yet indulgent: Despite its decadent taste, the mousse’s airy texture keeps this cake feeling light and satisfying after any meal.
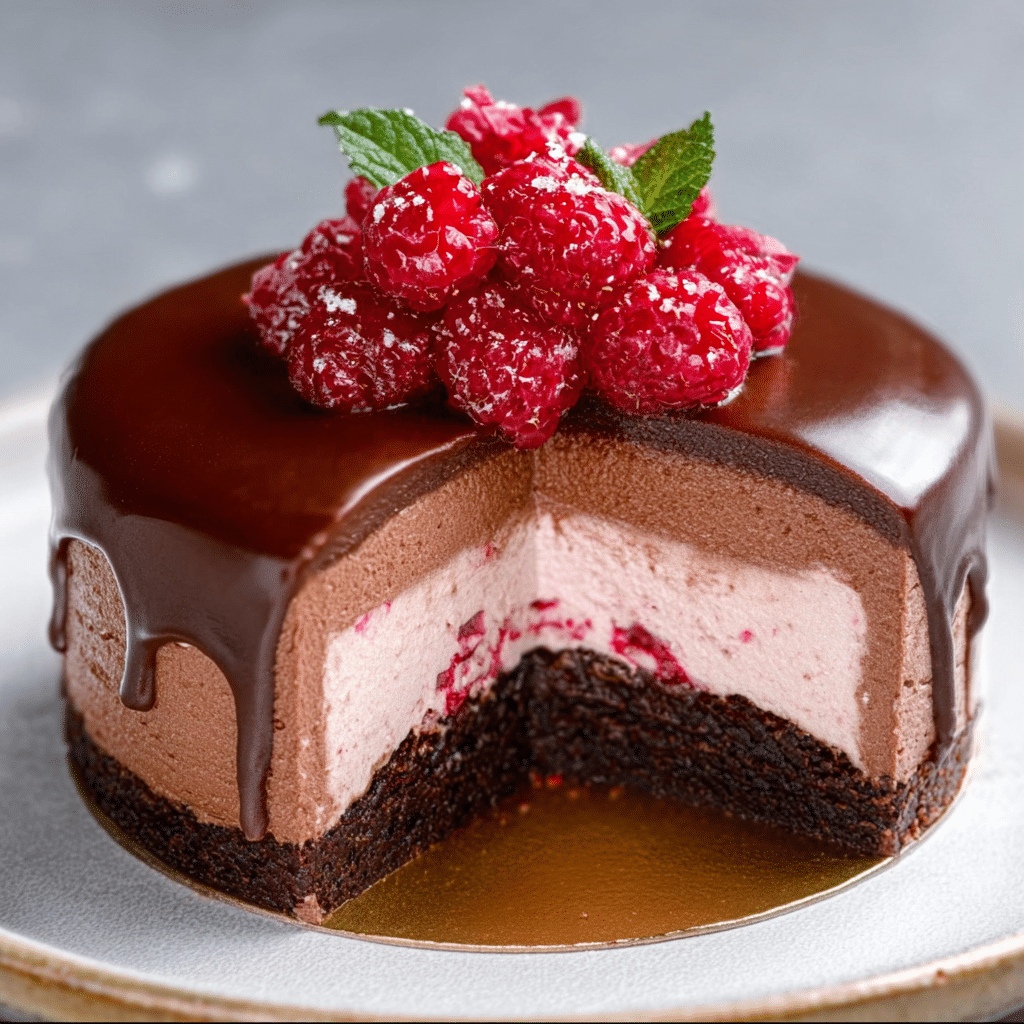
- Visually stunning: Layers of deep chocolate and bright raspberry create a show-stopping presentation that’s sure to wow guests.
- Flexible for all occasions: Whether it’s a birthday, anniversary, or casual weekend treat, this cake adapts perfectly to any celebration.
- Simple base with gourmet flair: Minimal ingredients transform into a sophisticated dessert without hours in the kitchen.
Ingredients You’ll Need
The magic behind the Chocolate Raspberry Mousse Cake lies in the simplicity and quality of its ingredients. Each component brings a distinctive note that contributes to the overall harmony of texture and taste, making this dessert elegant yet approachable.
- High-quality dark chocolate: The foundation of the mousse, providing rich, deep flavor and smoothness.
- Fresh raspberries: Adds a natural tartness and vibrant color for contrast and brightness.
- Heavy cream: Whipped to airy perfection, it gives the mousse its light, fluffy texture.
- Sifted powdered sugar: Sweetens the mousse while maintaining its creamy consistency.
- Eggs or gelatin (depending on recipe): Helps create structure and stability for the mousse’s delicate layers.
- Butter and flour: Essential for a tender and moist cake base that supports the mousse beautifully.
- Vanilla extract: Enhances the nuances of flavor for a well-rounded sweet profile.
Variations for Chocolate Raspberry Mousse Cake
One of the best aspects of this recipe is how easy it is to customize. Whether you want to cater to dietary needs or experiment with new flavor twists, adapting the Chocolate Raspberry Mousse Cake to your liking is a breeze.
- Dairy-free option: Substitute coconut cream for heavy cream and use dairy-free chocolate for a delicious vegan-friendly version.
- Adding nuts: Incorporate chopped toasted almonds or hazelnuts into the cake or as a topping for added crunch and depth.
- White chocolate twist: Swap dark chocolate for white and pair it with fresh raspberries for a lighter, sweeter flavor profile.
- Berry blend: Use a mix of raspberries, blueberries, and strawberries to diversify the fruit flavor and add extra color.
- Gluten-free base: Use almond flour or a gluten-free cake mix to make this dessert accessible to those with gluten sensitivities.

How to Make Chocolate Raspberry Mousse Cake
Step 1: Prepare the Cake Base
Begin by making a simple chocolate sponge or butter cake base. Whisk together the eggs, sugar, and vanilla, then gently fold in the dry ingredients and melted butter. Bake until light and springy, then let cool completely to ensure it doesn’t melt the mousse layers.
Step 2: Whip the Cream
Pour cold heavy cream into a chilled bowl and whip with powdered sugar until soft peaks form. This step is crucial for achieving that luscious, airy mousse texture.
Step 3: Melt the Chocolate
Gently melt the dark chocolate using a double boiler or microwave at low power, stirring often to prevent burning. Allow it to cool slightly before folding into the whipped cream.
Step 4: Make the Raspberry Puree
Blend fresh raspberries until smooth, then strain through a fine mesh sieve to remove seeds. This puree will be swirled into the mousse or layered for fresh berry bursts.
Step 5: Assemble the Mousse
Carefully fold the melted chocolate into the whipped cream until fully incorporated. Then, gently fold in the raspberry puree, creating a marbled effect or distinct layers based on your preference.
Step 6: Layer the Cake
Place the cooled cake base into a springform pan or serving dish. Pour the mousse mixture over the cake, smoothing the top evenly. Refrigerate for at least 4 hours, or overnight, allowing the mousse to set perfectly.
Step 7: Final Touches
Decorate with fresh raspberries, shaved chocolate, or mint leaves before serving to enhance both flavor and appearance.
Pro Tips for Making Chocolate Raspberry Mousse Cake
- Use room temperature eggs: This helps the cake batter rise evenly and keeps the texture light.
- Chill your mixing bowl: For the creamiest mousse, whip the cream in a cold bowl for better volume.
- Be gentle folding: Use a gentle folding motion when combining mousse ingredients to maintain the airy texture.
- Strain raspberry puree: Removing seeds ensures a smoother mousse without any unwanted crunch.
- Let mousse set overnight: Patience yields the best texture and flavors as the layers marry in the fridge.
How to Serve Chocolate Raspberry Mousse Cake
Garnishes
Consider garnishing with fresh raspberries, dark chocolate curls, or whipped cream dollops for an elegant, inviting presentation that complements the cake’s flavors.
Side Dishes
A scoop of vanilla bean ice cream or a drizzle of raspberry coulis pairs beautifully, adding contrast in temperature and richness to every bite.
Creative Ways to Present
Serve this cake in individual glass jars for a charming twist, or layer slices with edible flowers on a slate board for impressive visual appeal at parties.
Make Ahead and Storage
Storing Leftovers
Keep leftover cake refrigerated in an airtight container for up to 3 days to preserve the mousse’s freshness and prevent the cake from drying out.
Freezing
This cake freezes well when wrapped tightly in plastic wrap and foil; thaw overnight in the refrigerator before serving to maintain texture and flavor integrity.
Reheating
This dessert is best enjoyed cold or at room temperature—avoid reheating to keep the mousse’s delicate structure and creamy consistency intact.
FAQs
Can I use frozen raspberries in the Chocolate Raspberry Mousse Cake?
Yes, frozen raspberries work well; just thaw and drain excess liquid before using to prevent sogginess in the mousse layers.
Is this cake gluten-free?
The traditional recipe uses regular flour, but you can easily substitute with almond flour or a gluten-free flour blend to make the cake suitable for gluten-sensitive diets.
How long does the mousse need to set?
Ideally, refrigerate the cake for 4 to 6 hours or overnight to ensure the mousse is firm and the flavors meld perfectly.
Can I make this cake in advance for a party?
Absolutely! It actually tastes better after sitting overnight, so preparing it a day ahead is recommended and convenient for entertaining.
What type of chocolate is best?
Use high-quality dark chocolate with at least 60% cocoa content for the richest, most balanced flavor that complements the raspberry perfectly.
Final Thoughts
There’s nothing quite like the indulgent joy of a Chocolate Raspberry Mousse Cake. Every slice offers a celebration of textures and tastes that feels both luxurious and comforting. Whether you’re an experienced baker or just starting out, this dessert is a fantastic way to impress your friends and family. Give this recipe a try—you might just find your new favorite cake to make over and over again!
Related Posts
PrintChocolate Raspberry Mousse Cake

The Chocolate Raspberry Mousse Cake masterfully blends rich dark chocolate and vibrant fresh raspberries into a luxurious dessert. Featuring a tender cake base layered with airy chocolate mousse and bright raspberry puree, it offers a perfect balance of tartness and sweetness. Light yet indulgent, this elegant cake is ideal for celebrations or any time you want to impress with a sophisticated, irresistible dessert.
- Prep Time: 25 minutes
- Cook Time: 25 minutes
- Total Time: 5 hours (including chilling time)
- Yield: 8 to 10 servings 1x
- Category: Dessert
- Method: Baking
- Cuisine: French-inspired
- Diet: Gluten Free (with substitution)
Ingredients
Cake Base
- 3 large room temperature eggs
- 3/4 cup granulated sugar
- 1 teaspoon vanilla extract
- 3/4 cup all-purpose flour (substitute with almond or gluten-free flour for gluten-free option)
- 1/4 cup unsalted butter, melted
Mousse
- 7 oz high-quality dark chocolate (at least 60% cocoa), chopped
- 1 1/2 cups cold heavy cream (or coconut cream for dairy-free)
- 1/4 cup sifted powdered sugar
- 2 large eggs or 1 tablespoon gelatin (optional, for mousse structure)
- 1 teaspoon vanilla extract
Raspberry Puree & Garnish
- 1 cup fresh raspberries
- Fresh raspberries, for decoration
- Shaved dark chocolate, for decoration
- Fresh mint leaves (optional)
Instructions
- Prepare the Cake Base: Whisk together the eggs, granulated sugar, and vanilla extract until light and fluffy. Gently fold in sifted flour and melted butter to combine without deflating the batter. Pour into a prepared baking pan and bake at 350°F (175°C) for about 20-25 minutes or until the cake is light, springy, and a toothpick comes out clean. Let cool completely.
- Whip the Cream: Chill a mixing bowl and beaters. Pour cold heavy cream into the bowl, add sifted powdered sugar, and whip until soft peaks form. This light, airy cream is essential for a luscious mousse texture.
- Melt the Chocolate: Using a double boiler or microwave at low power, gently melt the chopped dark chocolate, stirring frequently to prevent burning. Allow it to cool slightly but stay fluid before folding into the whipped cream.
- Make the Raspberry Puree: Blend fresh raspberries until smooth. Pass the puree through a fine sieve to remove seeds, resulting in a smooth, seedless mixture perfect for folding into the mousse.
- Assemble the Mousse: Carefully fold the melted chocolate into the whipped cream, blending fully but gently to maintain airiness. Next, gently fold in the raspberry puree, creating either a marbled effect or distinct layers depending on your preference.
- Layer the Cake: Place the cooled cake base into a springform pan or serving dish. Pour the mousse mixture evenly over the cake surface and smooth the top. Refrigerate for at least 4 hours or overnight to allow the mousse to set firmly.
- Final Touches: Before serving, decorate the cake with fresh raspberries, shaved dark chocolate, and optional fresh mint leaves to enhance both flavor and presentation.
Notes
- Use room temperature eggs for a light, even cake texture.
- Chill your mixing bowl and beaters for the creamiest whipped cream.
- Fold mousse ingredients gently to retain airy texture.
- Strain raspberry puree to remove seeds and ensure smooth mousse.
- Allow mousse to set overnight for best texture and flavor melding.
- Frozen raspberries can be used after thawing and draining excess liquid.
- Substitute flour for gluten-free options if needed.
- For dairy-free version, use coconut cream and dairy-free chocolate.
- Store leftover cake refrigerated in an airtight container for up to 3 days.
- The cake freezes well; thaw overnight in refrigerator before serving.
- Serve cold or at room temperature, avoid reheating to preserve mousse texture.
Nutrition
- Serving Size: 1 slice (1/10 of cake)
- Calories: 360 kcal
- Sugar: 30 g
- Sodium: 90 mg
- Fat: 25 g
- Saturated Fat: 15 g
- Unsaturated Fat: 8 g
- Trans Fat: 0 g
- Carbohydrates: 28 g
- Fiber: 4 g
- Protein: 5 g
- Cholesterol: 110 mg
Keywords: chocolate raspberry mousse cake, chocolate mousse cake, raspberry dessert, layered mousse cake, gluten-free chocolate cake, dairy-free mousse cake option